These are the 5 most effective tips and tricks to prevent flakes and particles in paint and lacquers. These tips come from Dutch and British professional painters and decorators.
The cause of flakes and particles in paint and lacquers.
New paints and lacquers dry quicker than before. Paint tends to stick to a plastic roller grid or plastic lid of wall paint packaging and dry. Flakes easily come off and fall back into the paint.
And boy, do we hate hard particles in paint! Even on a huge wall, a tiny hard particle allways catches the eye.
If spotted in time, you can remove the hard bit from the wet paint, but often it is too late and it is already applied to a wall, door or floor. If you leave it there, it will come off later anyway, leaving a nasty mark.
So after inspection it is better to sand down the part and recoat. A time consuming and difficult task that could easily have been prevented.
5 pro tips: How to prevent flakes and bits in paint and lacquers?
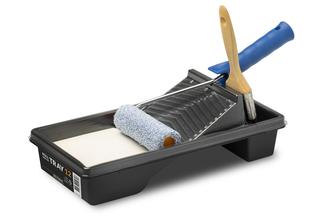
1. Do not use an additional plastic roller grid!
Paint and lacquers dry in the edges and corners of the open grid. Hardened paint particles fall off when the grid moves or bends during use. A closed and integrated roller grid is less prone to drying paint, especially when it is sloped, because there simply is less air to dry to and because gravity drives the paint back into the reservoir. 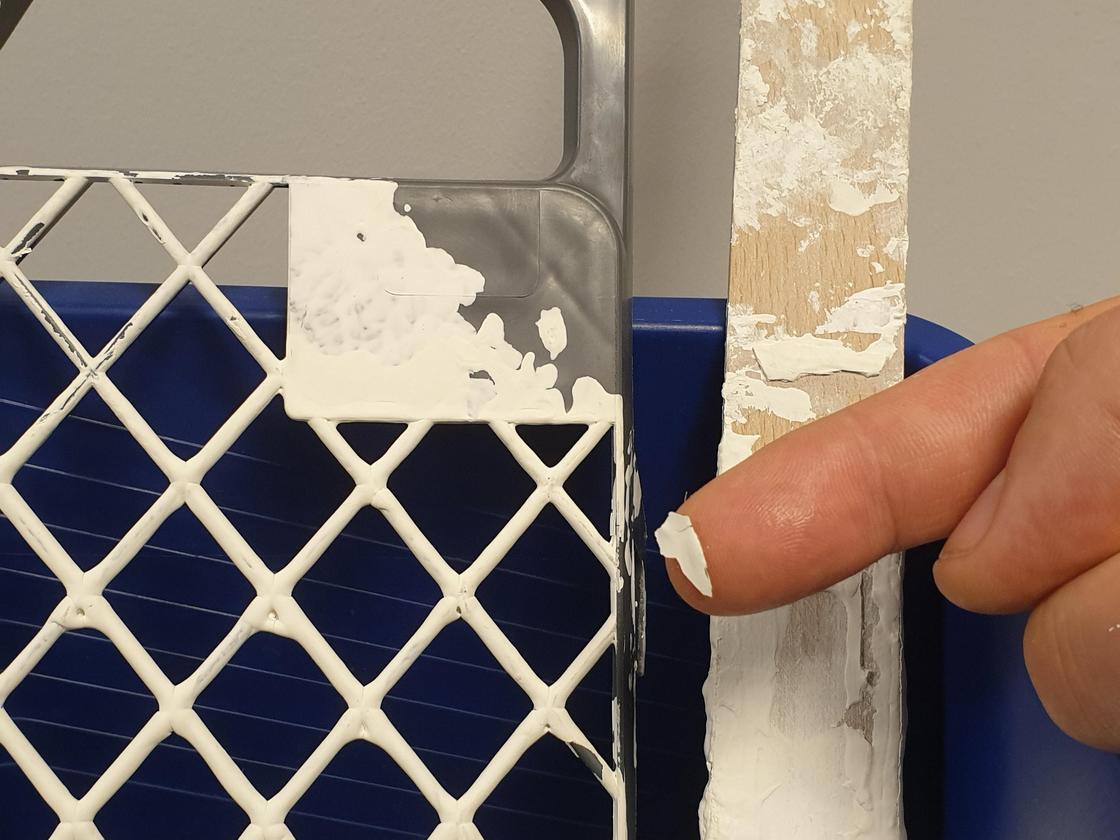
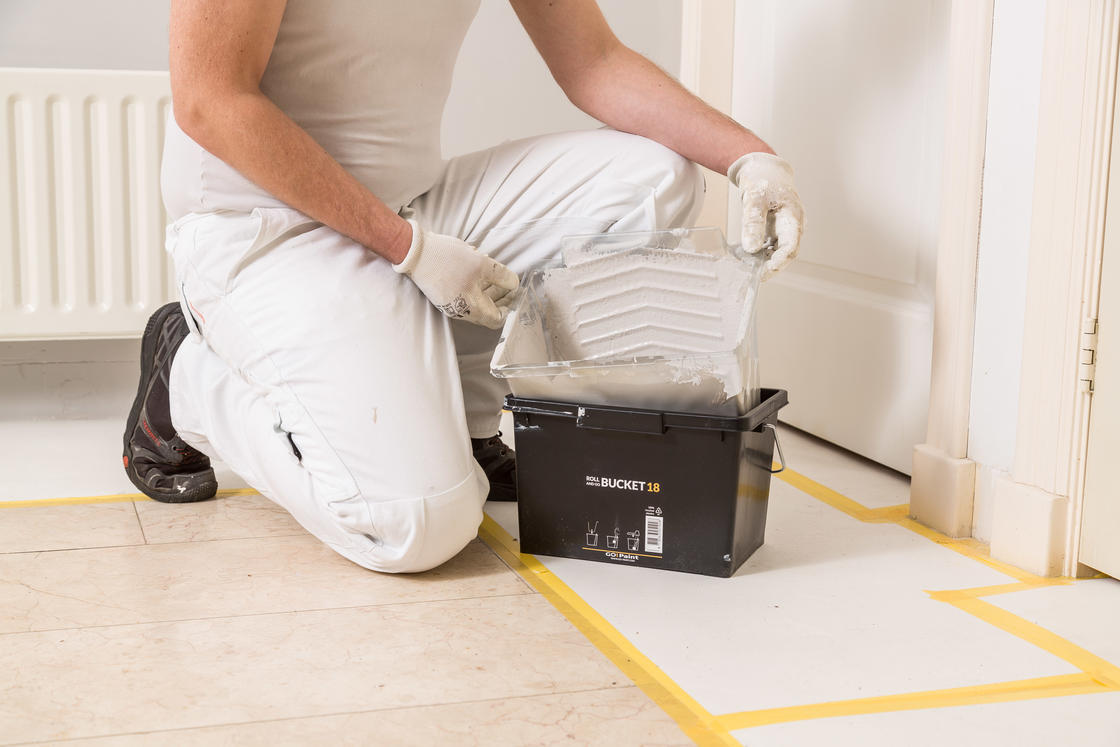
2. Do not work straight from the paint packaging.
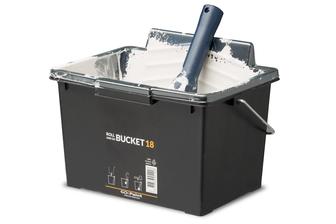
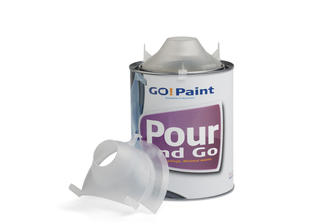
Because the original packaging is open all the time during use, when you do work from the packaging, paint dries to the walls of the packaging. On top of that, dust and pollen floatng in the air may drop into the paint and contaminate the entire paint packaging. A good strategy to prevent this is to decant the amount of paint that is required into a clean paint cup, tray or bucket and carefully reclose the original packaging. Is there any paint in the rim of the paint can? First remove the paint with a brush or a non-fluffy cloth before tightly closing the lid. For pouring paint without making a mess, also check out this tip
3. Pouring unused paint back into the can? Use a paint seeve!
When you want to pour unused paint back into the packaging, first check if the paint is still pure and unpolluted. If you have doubts or you can see contamination, use a disposable seeve to filter out any hard particles. It will cost you a seeve, but it will save you a lot of time and trouble. Many painters already make a habit of filtering any unused paint at the end of the day.
4. Keep an eye on your brush!
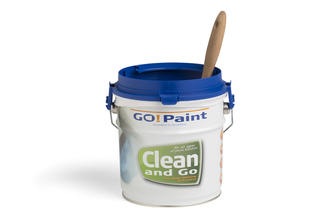
As soon as you notice your brush becomes heavier to work with and starts dragging, there may be paint drying in between the bristles. You can prevent this by firmly pressing any paint out of your brush every several minutes. When the paint is really drying in between the bristles, do not hesitate and deeply clean the brush straight-away! The Clean and Go is a low-cost, easy to use and quick tool for deeply cleaning paint brushes. Using a brush that is in good condition, painting with quick drying paints is very rewarding, you may even get to applying a second coat the same day!
5. Use disposable liners
In stead of washing out buckets or peeling dried paint out, it is more efficient to use disposable liners. It prevents any paint from entering the water systems, so it a healthy choice too, but it also prevents these nasty flakes that always remain in the buckets after cleaining them out. Even the tiniest particle will allow new paint to dry to it, so it becomes a bigger chunk over time. Use clean liners and throw them away after use, maybe after keeping them in use for a night under a closed lid. Disposable liners are often very thin and ours are even 100% recycled already!